How to replace the heating elements in a Dual - temp Mold Oil Heater?
Jan 15, 2026
Leave a message
Hey there! As a supplier of Dual - temp Mold Oil Heaters, I often get asked about how to replace the heating elements in these machines. It's actually a task that you can handle on your own with the right know - how. So, in this blog post, I'll walk you through the process step by step.
Why Replace Heating Elements?
First off, you might wonder why you'd need to replace the heating elements in the first place. Over time, these elements can wear out due to constant use. You might notice that your Dual - temp Mold Oil Heater isn't heating up as quickly as it used to, or the temperature isn't as consistent. These are signs that the heating elements might be on their last legs and need to be replaced.
Tools You'll Need
Before you start the replacement process, gather the necessary tools. You'll need a set of screwdrivers (both flat - head and Phillips - head), a pair of pliers, a multimeter to test the electrical connections, and of course, the new heating elements. Make sure the new elements are compatible with your Dual - temp Mold Oil Heater. You can usually find the compatibility information in the user manual or by reaching out to us as your supplier.
Safety First
Safety should always be your top priority when working on any electrical equipment. Before you do anything, make sure to turn off the power supply to the heater. This will prevent any accidental electrical shocks. Also, let the heater cool down completely. The oil inside can be extremely hot, and you don't want to burn yourself while you're working on it.
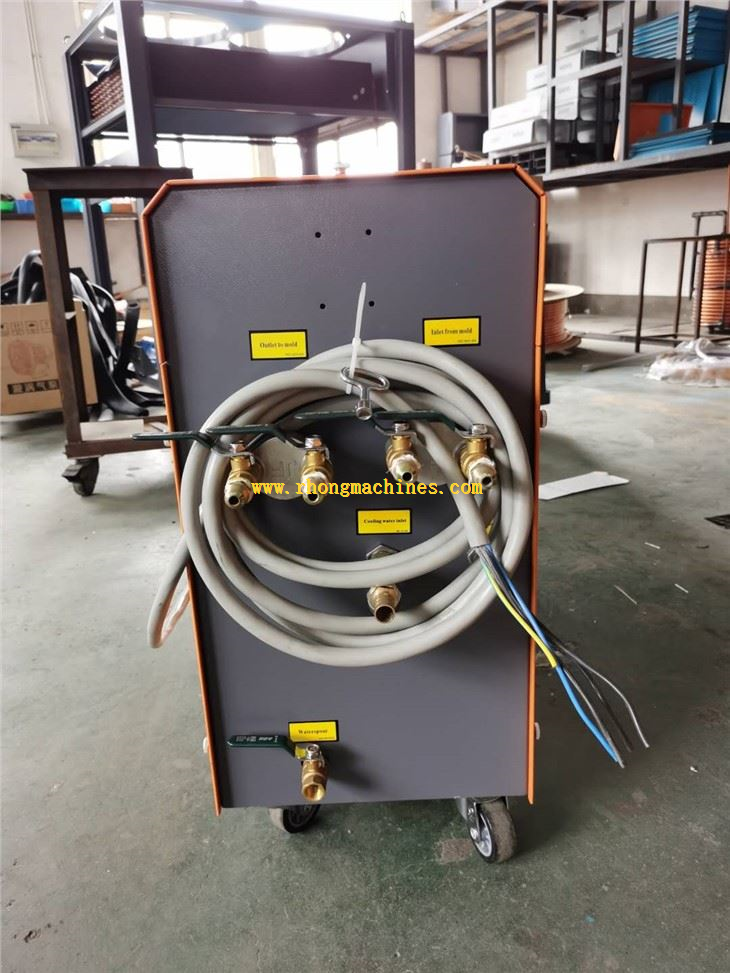
Step 1: Remove the Cover
Once the heater is cooled and unplugged, the first step is to remove the outer cover. Use your screwdrivers to take out the screws holding the cover in place. Place the screws in a safe place so you don't lose them. This will give you access to the internal components of the heater, including the heating elements.
Step 2: Locate the Heating Elements
Inside the heater, you'll see the heating elements. They are usually long, tubular parts that are connected to the electrical system. There might be more than one element depending on the model of your Dual - temp Mold Oil Heater. Take a close look at how they are installed and connected. This will help you when it's time to install the new ones.
Step 3: Disconnect the Electrical Connections
Using the pliers, gently disconnect the electrical wires from the heating elements. Make sure to note which wire goes where. You can use a piece of tape to label the wires if you want to be extra careful. This step is crucial because if you connect the wires incorrectly later, it can cause problems with the heater.

Step 4: Remove the Old Heating Elements
Once the electrical connections are disconnected, you can remove the old heating elements. Some elements might be held in place by brackets or clips. Use the screwdriver or pliers to loosen these and carefully take out the old elements. Be careful not to damage any other components inside the heater while you're doing this.
Step 5: Install the New Heating Elements
Now it's time to install the new heating elements. Place them in the same position as the old ones and secure them with the brackets or clips. Make sure they are firmly in place. Then, connect the electrical wires to the new elements according to the labels you made earlier. Double - check the connections to make sure they are secure.
Step 6: Replace the Cover
After the new elements are installed and the electrical connections are in place, put the cover back on the heater. Use the screws you removed earlier to secure it. Make sure the cover is properly aligned and tightened.
Step 7: Test the Heater
Once everything is back together, plug in the heater and turn it on. Use a thermometer to check if the oil is heating up as it should. You can also use the multimeter to check the electrical current. If everything seems to be working fine, then you've successfully replaced the heating elements.
Other Related Products
If you're also interested in other types of temperature control equipment, we have some great options. You can check out our Water Type Mold Temperature Controller, which uses water as the heat transfer medium. It's a reliable choice for many applications.
Another great product is our Dual Temp Mold Water Heater. This heater offers dual - temperature control, giving you more flexibility in your molding processes.
And if you prefer an oil - based system, our Oil Type Mold Temerature Controller Rhong Equipment is a high - quality option. It provides precise temperature control for your molding operations.
Contact Us for Procurement
If you're in the market for a new Dual - temp Mold Oil Heater or any of our other products, or if you have any questions about the heating element replacement process or anything else, don't hesitate to get in touch. We're here to help you find the best solution for your needs. Whether you're a small workshop or a large - scale manufacturing plant, we have the right equipment for you.
References
- Manufacturer's manual of Dual - temp Mold Oil Heater
- General knowledge on electrical equipment maintenance