

How to troubleshoot a chamber dryer?
Oct 15, 2026
Leave a message
If you've ever dealt with production delays because a chamber dryer's acting up, you know how frustrating it is-especially when you rely on consistent drying for plastics, food, or any moisture-sensitive material. As a supplier of industrial drying equipment, I've spent years fielding calls from manufacturers panicking over a dryer that's either not heating enough, over-drying their product, or leaving them with inconsistent batches. The good news? Most chamber dryer issues are fixable without calling in a technician immediately. Let's walk through step-by-step troubleshooting that's worked for hundreds of my customers, no fancy tools needed.
First, a quick reality check: chamber dryers aren't that complicated at their core. They circulate heated air over your material, pull moisture out, and vent the damp air. If something's off, it's almost always one of four areas: airflow, heat, air quality, or control settings. I've seen techs replace expensive parts when all they needed to do was clean a filter or adjust a thermostat-so start simple before diving into big repairs.
Let's start with the most common culprit: airflow. If your dryer is running but the material isn't drying evenly, or you feel barely any air coming out of the exhaust, airflow is almost always the issue. Here's how to troubleshoot it. First, check the air filter. I can't tell you how many times a customer has ignored a clogged filter for months. Dust, lint, and tiny plastic particles build up on that filter, blocking air from moving through the chamber. Most chamber dryers have a filter access panel on the side or back-just pop it off, pull out the mesh filter, and give it a good vacuum (or rinse it if it's washable, just make sure it's fully dry before putting it back). If you don't have a spare filter, order one, but don't run the dryer without it-it'll damage the blower over time.
Next, check the ductwork leading to and from the chamber. Over time, flexible ducts can get crushed, or rigid ducts can develop loose connections that leak air. Even a small leak (like a gap around a seal or a loose clamp) will pull cool air in, reducing the amount of hot air hitting your material. Run your hand along the ducts while the dryer's on-if you feel a breeze where there shouldn't be, tighten the clamp or apply high-temperature duct tape to seal it. Pro tip: If you're constantly dealing with airflow issues, maybe it's time to look at equipment that integrates better with your drying setup. A lot of my customers love our Drying Hoppers because they streamline airflow between loading and drying, cutting down on clogs that happen with separate chambers.
Another airflow check: the blower itself. If cleaning the filter and ducts doesn't help, look at the blower's impeller. Sometimes debris gets stuck in the blades, slowing them down. Unplug the dryer first (safety first!) and remove the blower housing. Gently scrape off any gunk on the impeller-don't use a sharp tool that could damage the blades. If the blower's making weird noises (like squealing or rattling), it might be a worn bearing, but that's a deeper fix-start with the simple stuff first.
Now, let's talk heat issues. If your material is still damp after the cycle, or it's over-dried and brittle, heat is probably the problem. First, verify the set temperature vs. the actual temperature inside the chamber. Most dryers have a digital display that shows both, but sometimes the sensor is off. To test it, use a portable infrared thermometer-hold it a few inches from the chamber's interior wall (not a metal fixture) and compare that reading to the dryer's display. If there's a gap of more than 5 degrees, the sensor might need calibration or replacement.
If the temperature reading is correct but the heat's not there, check the heating element. For electric chamber dryers, this is usually a set of coils inside the heating chamber. Unplug the dryer, locate the element, and check for signs of burnout-cracked coils or discoloration (like black spots) mean it's faulty. You can test it with a multimeter to see if it's getting power, but if you're not comfortable working with electrical parts, call a pro. Wait, but before you jump to replacing the element-check the power supply first. Is the dryer getting the full voltage it needs? A loose wire or a tripped circuit breaker can cut power to the heating element, even if the display looks like it's working. I've had customers call me panicking because their dryer was "broken" only to find a tripped breaker in the electrical panel.
Overheating is another heat problem-if your product's melting or burning, that's a red flag. Same initial step: check the temperature sensor. If it's not reading correctly, it might be telling the control board to crank up the heat too high. Also, make sure the vent isn't blocked. Damp air has to escape for fresh hot air to come in-if the exhaust vent is clogged with lint, the chamber will get too hot because moisture can't leave. Clear the vent, and if you're in a very humid environment, consider adding a dehumidifier module. Some of my customers use our European Design Hopper Dryer for exactly this reason-it's built to handle consistent air moisture, so overheating is way less likely even in tropical climates.
Next, let's tackle air quality. You might be thinking, "Air quality? It's just air!" But if the air going into the chamber is damp or contaminated, your drying won't work right. This is a big one for plastic processing, where even tiny moisture traces can ruin parts. If you're drying hygroscopic materials like PET or nylon, the incoming air needs to be dehumidified. If your dryer is hooked up to a regular room air supply, it's probably pulling in air that's 40-60% humidity, which isn't enough for thick materials. That's why so many manufacturers pair chamber dryers with auxiliary dehumidification hoppers. For example, our European Drying Loader 2 In 1 combines a loader and dryer, so it's pulling dry, conditioned air directly to the chamber-no ambient air dilution.
Another air quality issue: contaminated air from the ductwork. If you've never cleaned your ducts, they might have mold, dust, or leftover debris from previous materials blowing into your current batch. Run a deep clean of the ducts with a soft brush (again, unplug first!) to get rid of built-up gunk. If you switch between different materials often, this is extra important. Some customers find that a Plastic Hopper Dryer With Floor Stand helps keep materials separate, so cross-contamination between batches isn't an issue.
Last, but definitely not least: control settings. This is the easiest fix, yet I still see people overlooking it. Maybe someone adjusted the timer by accident, or the drying temperature was set too low for your material's thickness. Let's say you're drying a thick plastic part-you can't set the timer for 2 hours like you would for thin film. Check your material's specs: every plastic has a recommended drying temperature and time. If you set it too low, the material won't dry; too high, it'll degrade. Also, make sure the door or chamber lid is sealing properly. A loose door will let cool air leak in, messing with heat and airflow. Run your hand around the door gasket while the dryer's on-if you feel air, either tighten the door latches or replace the gasket if it's cracked or worn.
Wait, let's talk about a less obvious setting: the dew point. For high-precision applications, you need the air inside the chamber to have a low dew point (usually -20°C or lower for plastics). If your control panel lets you adjust that, make sure it's set correctly. A lot of cheap dryers skip this, but if you're investing in a chamber dryer, having that control is a game-changer. Our Plastic Cabinet Dryer has a built-in dew point monitor, so you don't have to guess-its control system adjusts air quality automatically, which cuts down on troubleshooting time.
Now, let's walk through a real-life example. Last month, a customer from automotive parts manufacturing called me at 7 a.m. panicking because their chamber dryer was leaving plastic parts with surface bubbles. We walked through the steps: first, they checked the filter- it was caked with plastic dust, so we cleaned that. Then, we checked the temperature: it was set to 120°F, but their thermometer said it was 112°F. Turned out the sensor was a little off, so we calibrated it. Finally, we realized their air vent was blocked by a stack of boxes they'd stored next to it. After clearing the vent and resetting the settings, they were back up and running in an hour-no tech needed. That's the thing with chamber dryers: most of the time, the fix is something small and easy to miss.
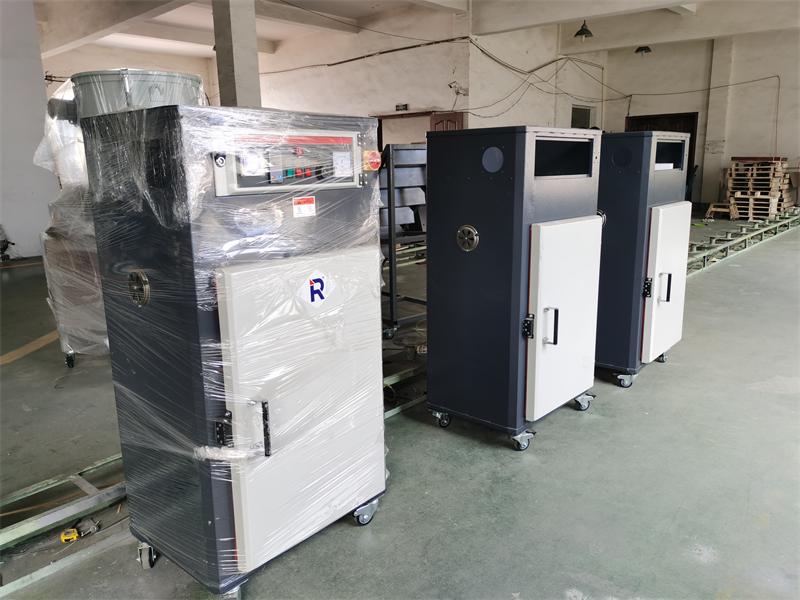
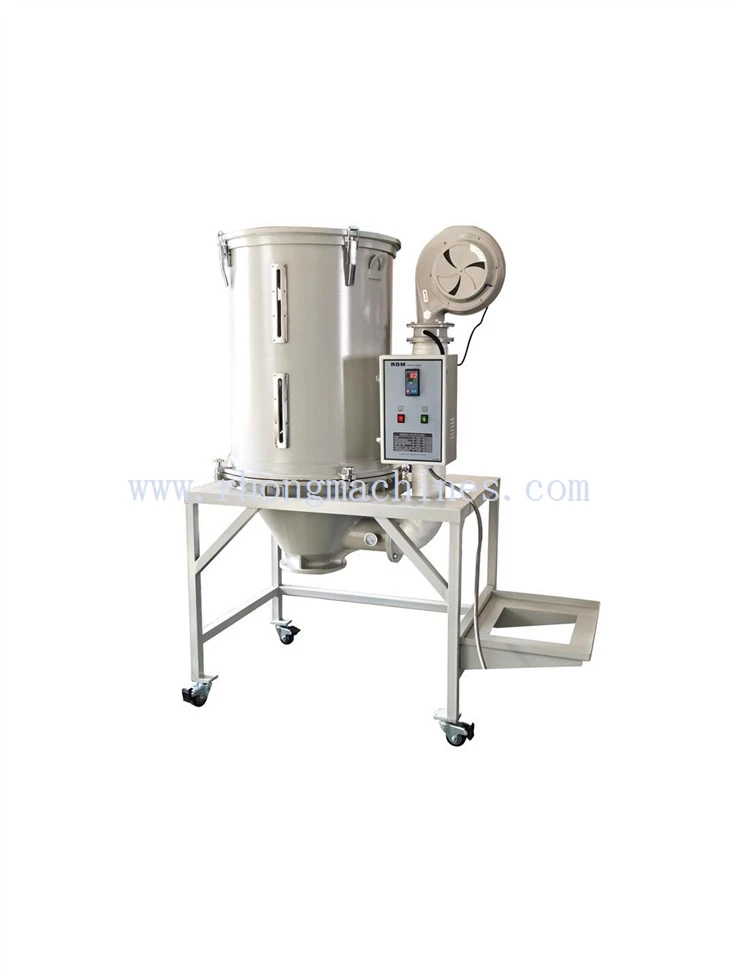
What about when the simple stuff doesn't work? Let's say you've cleaned the filter, checked the heat, verified airflow, and adjusted settings, but it's still broken. Then it's time to dig a little deeper. First, check the blower motor. If you turn it on and it doesn't spin (or spins slowly), it might be a dead motor or a faulty capacitor. Capacitors go bad over time-they're cheap to replace, way cheaper than a new motor. If the heating element is good and the power is on, but no heat, the contactor (the switch that turns the element on and off) might be faulty. That's another part you can replace without a ton of electrical experience, just make sure to turn off the power before touching it.
Another thing to watch for: condensation inside the chamber. If you see water dripping from the walls or product, that means the vent isn't working properly, or the cooling coil (in dehumidifying models) is frozen. If the coil is frozen, turn off the dryer, let it defrost completely (this could take a few hours), and check the airflow again-frozen coils are almost always caused by restricted air.
At the end of the day, preventing issues is better than fixing them. Regular maintenance goes a long way. I tell all my customers to do a quick check every week: clean the filter, look for loose ducts, and verify the door seal. Every month, do a deep clean of the ducts and check the blower impeller for debris. And if you're in the market for equipment that reduces troubleshooting down the line, our range of drying solutions (like the ones I mentioned earlier) are built to work in sync, so you're less likely to run into airflow or air quality issues.
If you've tried all these steps and your chamber dryer's still acting up, or you're looking to upgrade to equipment that's easier to maintain, reach out to the team here. We work with manufacturers of all sizes-from small workshops to large production facilities-and can help you find the right setup for your drying needs. No generic solutions, just tailored advice to keep your line running smoothly.
References:
- Industrial Drying Equipment: A Guide to Troubleshooting and Maintenance, Manufacturing Engineering Association, 2022.
- Dehumidification for Hygroscopic Materials, Plastics Industry Association, 2021.
- Chamber Dryer Performance Standards, International Society of Automation, 2020.